3 girls 3 things


This reminds me of one of my assignments from an art class back in junior year of college - our professor wanted us to "fill a space". This would have been a really cool idea to do! I ended up felling my belly button with a bunch of random things and documenting it on a huge grid - maybe I'll post it sometime if I manage to find some pictures of it! My favorites from this artist are probably the origami fan ones (I love the third one for its colors and the water and rope one for its creativity) and the paper clip one (how did she climb in there?) The one with the rats and the caterpillar one kind of gives me the chills...! 
- Trish

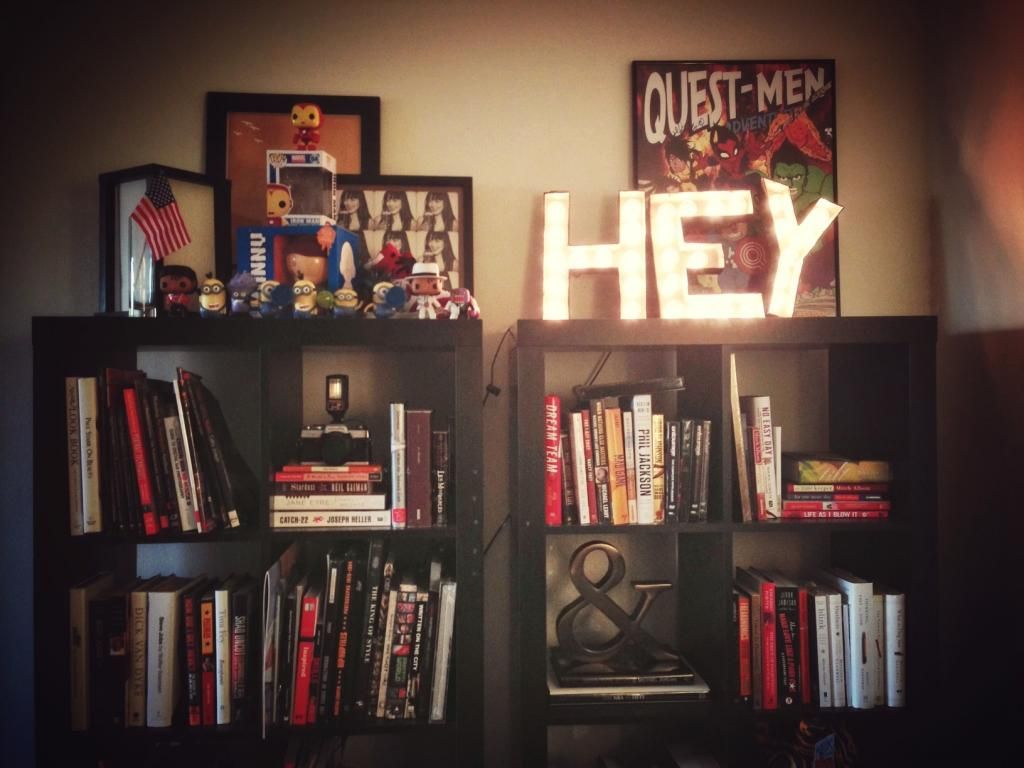
My parents always told me that one of the most important things to think about before you renovate your apartment is where you'd like your safe to be and whether it needs to be part of the reno.  The best safes in the house are apparently things that don't look like safes, and placed in spots that don't seem safe!  This guy shares a really creative idea, but if you really think about it, I would say best for hiding only kids Halloween candies as he suggested, nothing much more than that since it can't be locked and a housekeeper would probably find that within the first month on the job =p. 
- Erin

My friend showed this to me about 2 years ago but I recently thought about them again. If you're down for a good laugh, you need to watch this! These two guys are hilarious! If you've got the time, you should also check out their other videos! Another favorite of mine is the Finger War. 
- Court

DIY: Marquee Light

When I lived in the OC, I came across this cute store called Oh Hello Friend in Downtown Fullerton. It sold little knick knacks, jewelry, stationary and more. I stepped into the store for the first time, and knew it was game over. And yes, I was right - I bought too many things my first time and went back for more a week later. I chatted with the Sales Associate and she told me to check out the blog. If you haven't been there, you should go check it out!

I came across this lovely DIY to make a Marquee and if you follow me on Pinterest, you know that I LOVE letters, so I decided to make one myself. 

You can check out the tutorial I followed here on Oh Hello Friend Blog, OR you can follow along below. If you ever try this, feel free to ask me any questions!

Things you'll need:
- 8" or 12" Paper Mache Letters
You can get them online from Consumer Crafts or I bought mine at Joann's. Etsy also has them but a little bit more expensive.

- Spray Paint
I used Rust-o-leum like their tutorial because I love the Metal look. But you can use other colors and textures as well. I got mine at Michael's but they also sell them at Home Depot.

- String Lights 
I found mine in the outdoor section of Target. Depending on how many letters and how many lights you'd like, you may need more than 1-2 packs (I used 1.5 packs and saved the extra bulbs for another project).

- Xacto Knife

- Drill 
I got mine at Home Depot and they were really helpful in finding one that is easy to use. Mine is a Ryobi and the drill bit is 5/16. Super light!

Let's Begin!!

1. Cut along the edges of the letters. I didn't leave any space for more surface area and cut right along the edges.

2. Flip the letters over and pencil in the spacing you'd like between each bulb. Then drill through the cardboard where you have marked.

3. Find an outdoor space and spray paint your letters.  The back is not necessary. I waited a few hours and they were all dry!

4. Take your bulbs and put them through the drilled holes, and attach the string at the back.

5. After you've done that for all your letters.. TA DA!! Plug them in and test it out!!

I put it on top of my bookshelf, but I haven't filled the space up yet. What do you think?