DIY Marbled Jewelry Tray

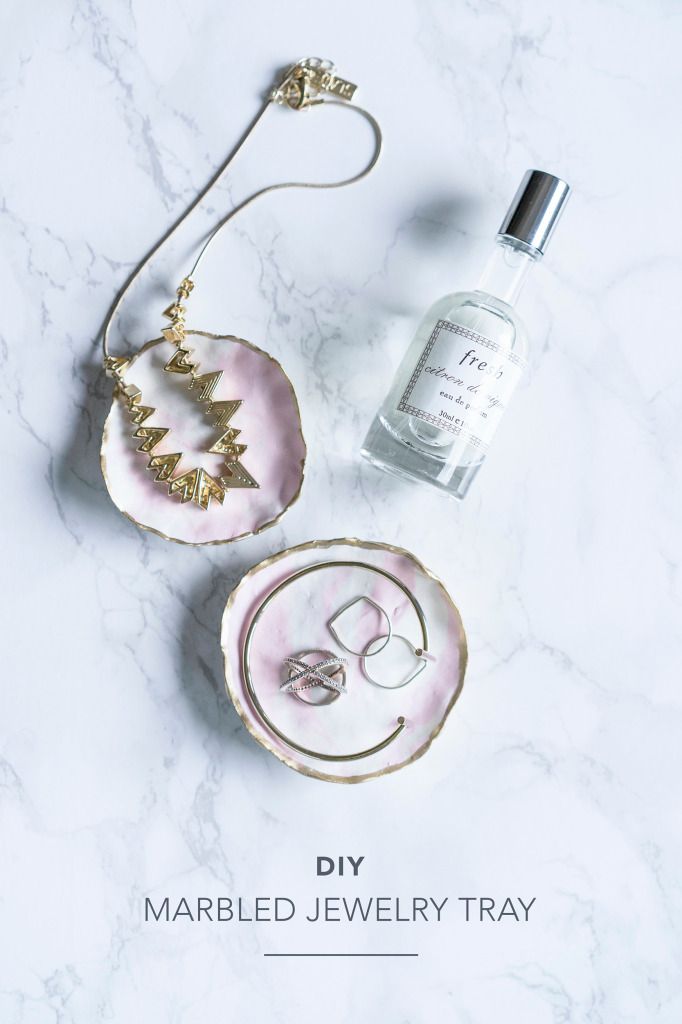
I love DIY, but I'm usually too lazy (and busy) to go find materials and test things out. Somehow I feel like my hands aren't dainty enough to create things out of scratch. So we teamed up with Brit+Co and Rocksbox to bring you this awesome DIY: the Marbled Jewelry Tray Kit. Grab a kit for yourself and keep scrolling to see how we put these pretty marbled trays together! It's super easy!
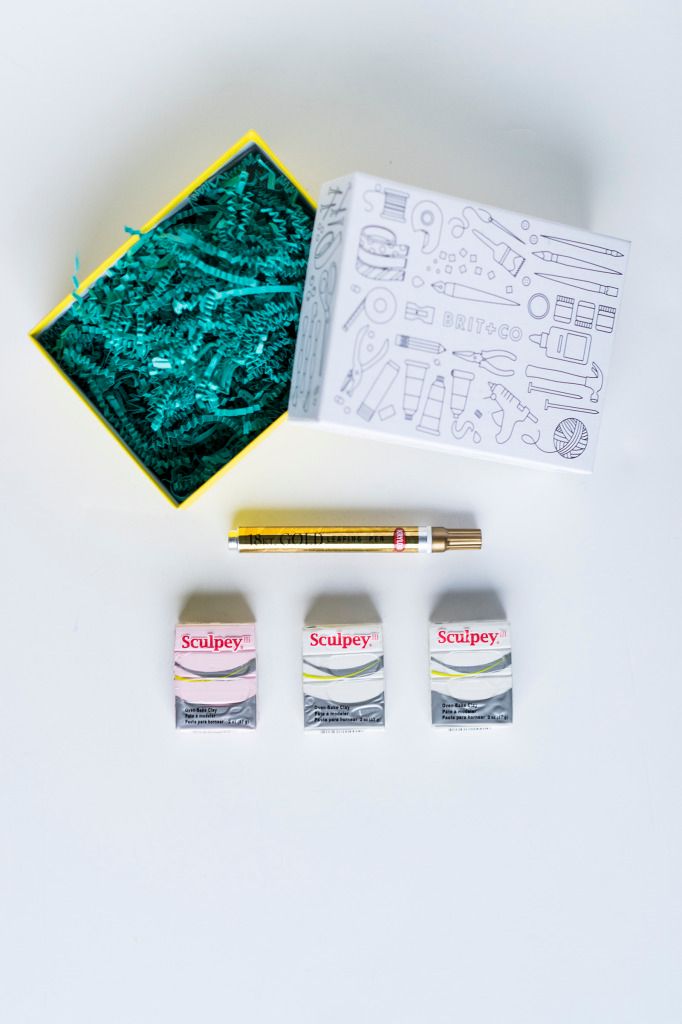
Materials
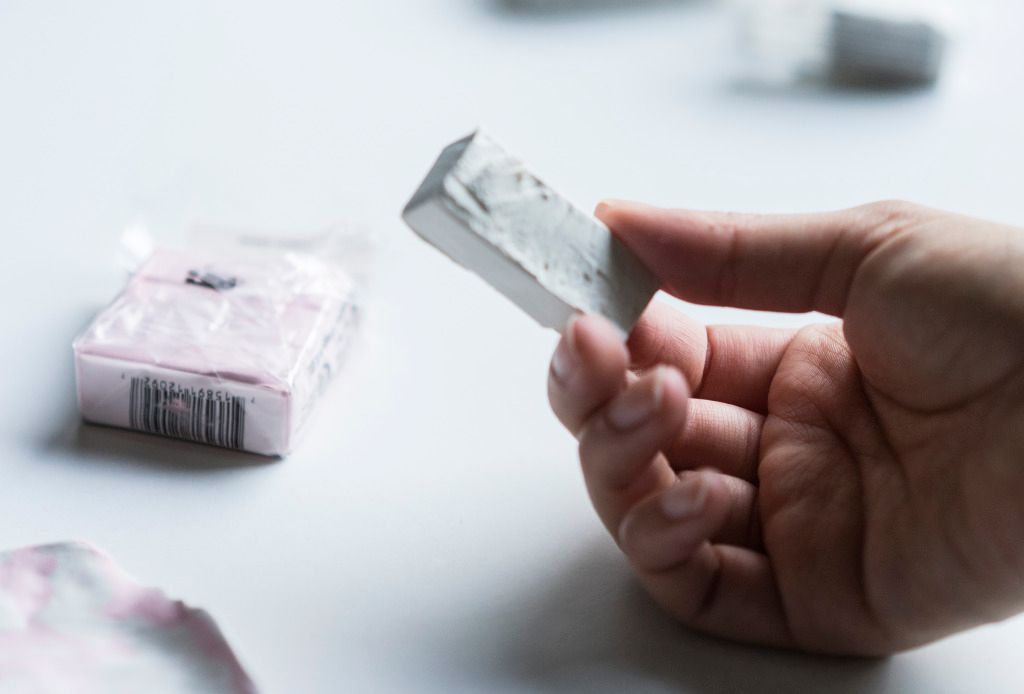
white oven-bake clay
colorful oven-bake clay
gold paint pen
(easy as that – all three are included in the Brit kit!)

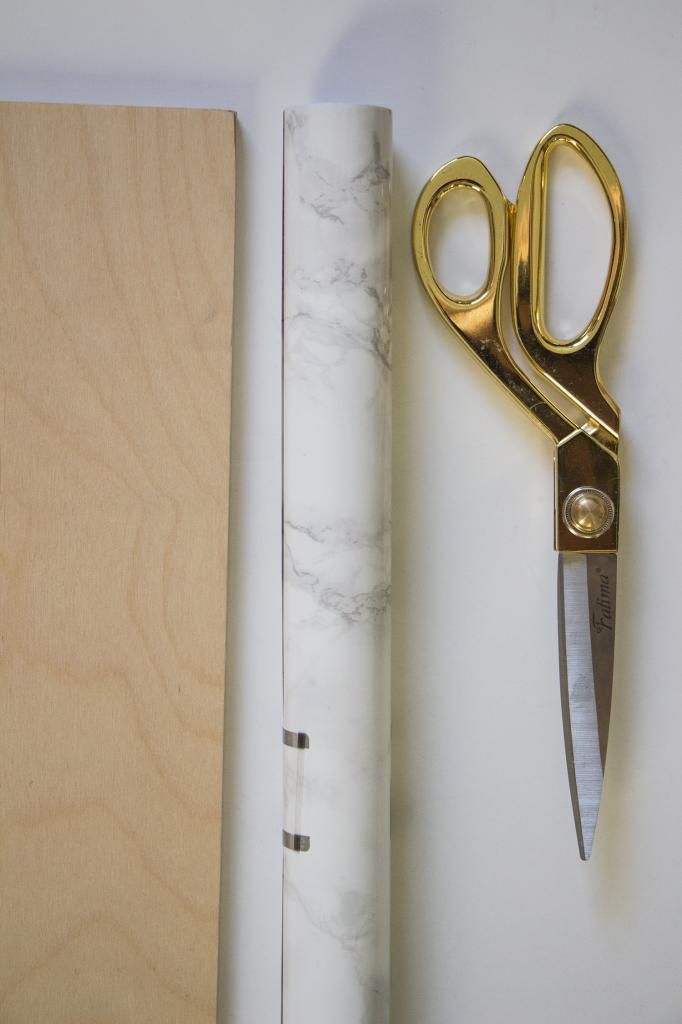
Tools (not included in kit)
Butter knife
Baking Tray

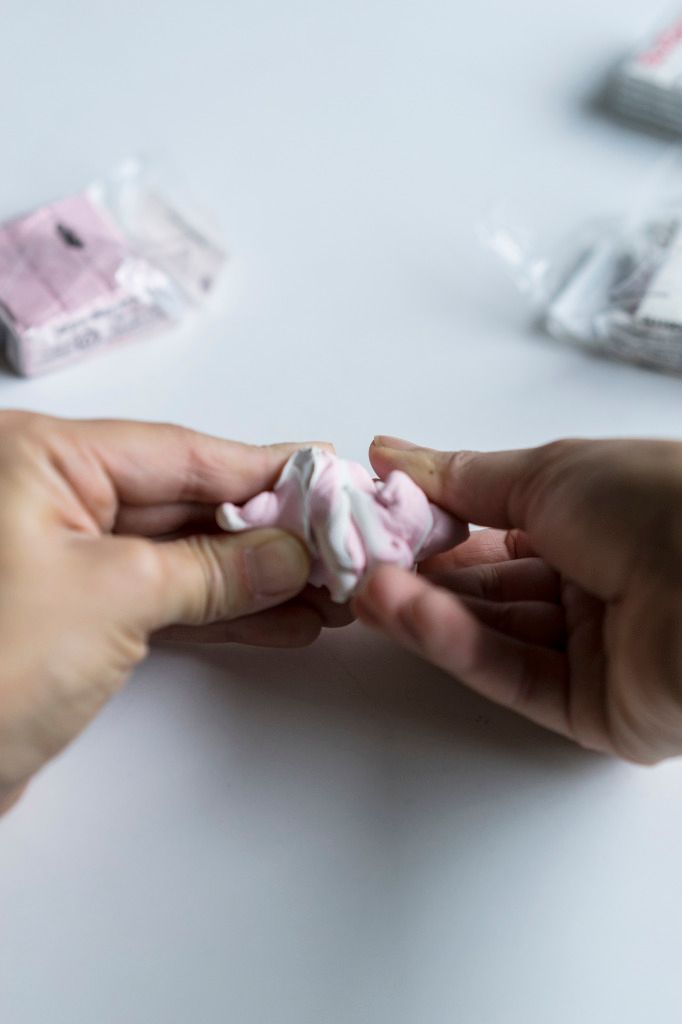
Break off one section of white and one section of colored clay and twist them around each other. 

Keep twisting and kneading your clay until you have an evenly dispersed, marbled pattern and flatten it into a circle measuring about three inches in diameter.

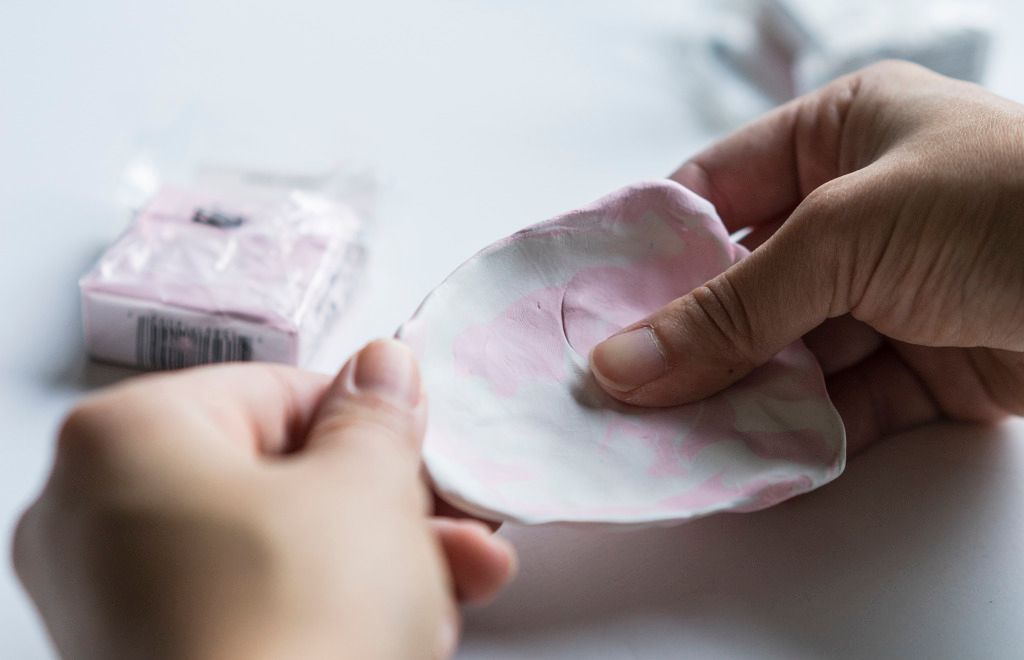
Grab one more section of white clay, flatten it into another circle of about the same size and layer it underneath your marbled circle.

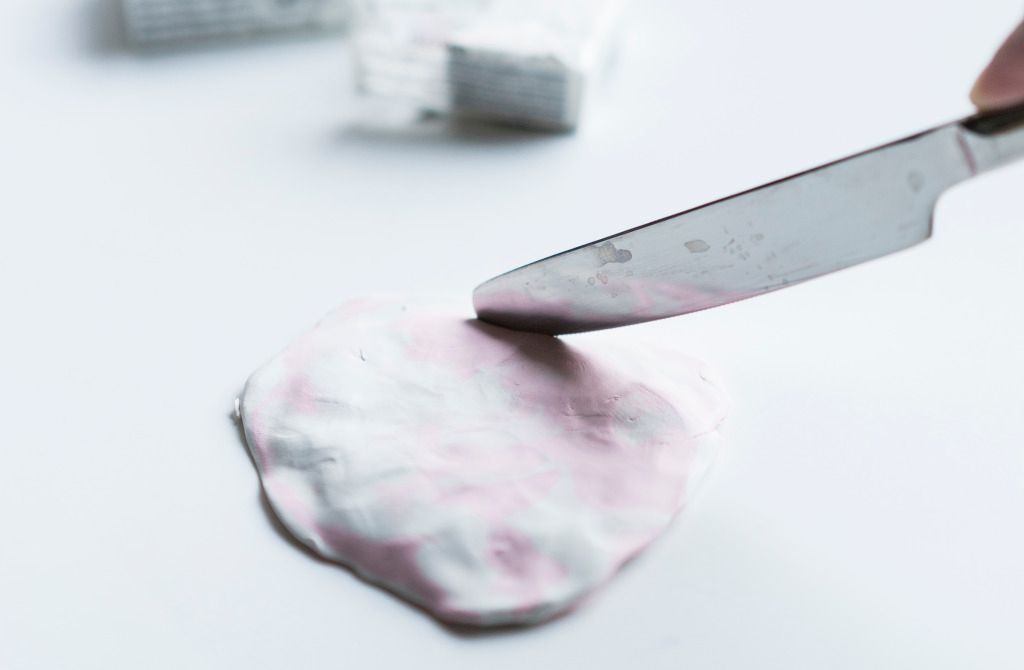
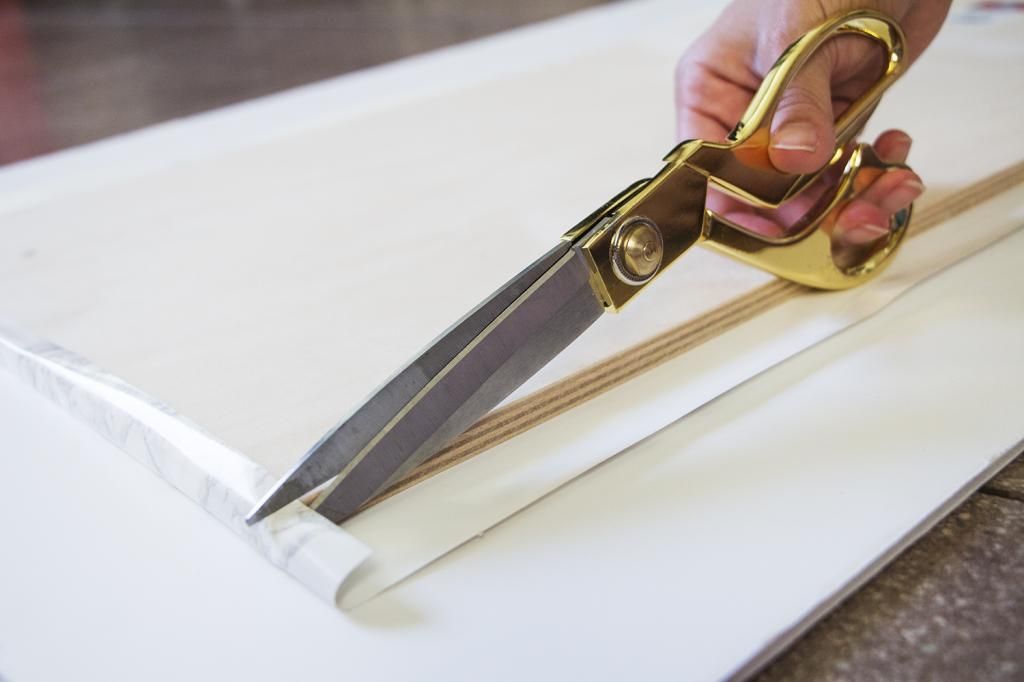
Using a butter knife, carefully trim off the uneven edges of your two-layer clay circle and then pinch the edges of your clay circle upwards so that it forms a lip all the way around.

Repeat for your second larger tray, using two white sections plus two pink sections for the marbled layer and two white sections for the white bottom layer, and bake in a 275º Fahrenheit oven for about 25 minutes.

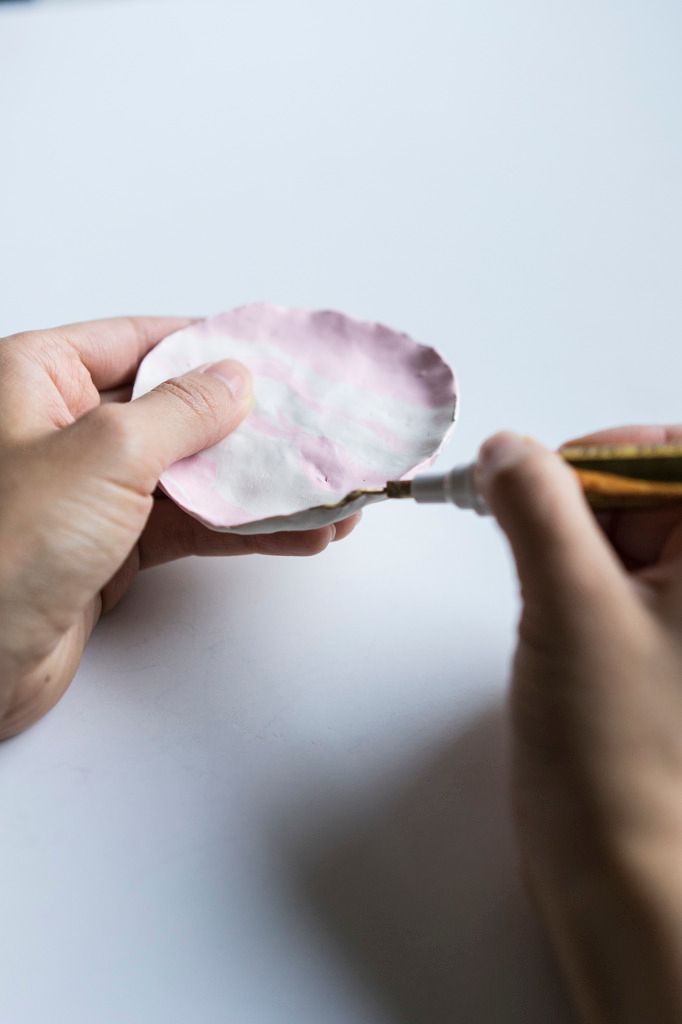
Once cooled, paint the edges of each tray with your gold paint pen.
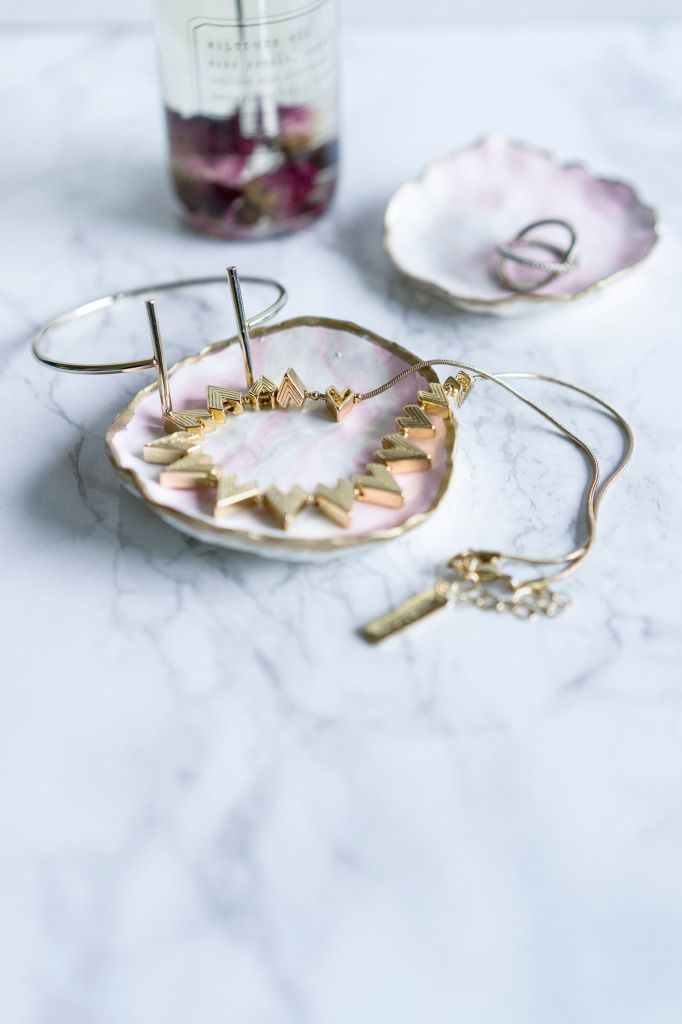
Tada!

Which color will you choose? Make your own set of here!

5 Last Minute DIY Gift Ideas

OK. If you're like me, every year you think you're going to be super on top of buying presents, but then you end up waiting till last minute. Am I right? Well.. I compiled 5 very last minute DIY gift ideas for you guys, each one should only take 30 minutes to make. Hopefully this will help :)

1 // scented coffee filter sachets

2 tbsps of baking soda and a touch of lavender, cinnamon, rosemary and mint can create cute sachets for your drawers and leave your clothes smelling fresh for months!

2 // sharpie mug

buy mugs from the 99 cent store and use a gold sharpie to personalize them for your friends!

3 // photo tile coasters

choose your favorite photos and create tile coasters for your family!

4 // quickbread in a bottle

these are pretty awesome gifts. my friend gave this to me once and it's unbelievable how much time you save when you don't have to measure out and buy ingredients! and it's super cute.

5 // dipped jewelry tray

every girl always needs a jewelry tray.. 

DIY: Marble Background

what you need:
a wood board - Plywood Sheet-12"X12"X1/8" 

Remove one side of the protector and stick the marble paper onto the wooden board. 
Be sure to flatten the sheet and align the edges with the wooden board. Pull the bottom sheet slowly, while running your hand against the marble paper to smoothen and stick the paper onto the board.
Once the marble paper is covering the whole wood board, turn it around and cut the edges to fold down. 
Wrap the marble paper over. I put tape on the back to make sure the corners would stay down. 
Voila! You can even use this contact paper to cover pencils, table, and even walls!
inspired by a pair and a spare

Ribbons


For Erin and Tim's wedding, we decided to put together cute DIY wedding favors. They had previously bought mini baskets from Thailand, and all we needed was a touch of colorful ribbon. Of course, there's no place better to get it than Sham Shui Po! If you've never been before, it can be very confusing and overwhelming! So we wanted to share with you how to navigate through these crowded streets of SSP, and some of the stores that we went into! And if you're just visiting Hong Kong, this is a pretty neat area to walk around too! 

If you are going by MTR, you can exit through A2. Walk down Apliu St - an electronics market, and the ribbon stores will start at the intersection of Apliu St and Nam Cheong St. You will find ribbon stores after another. Stores are usually open between 11am - 6 pm. They are NOT open on Sundays (we made that mistake a few times).
Each store has its own unique set of ribbons, and you may not be able to find the same exact type throughout the street. One important tip is that, if you want a large amount of the same kind, you can pre-order from them! It's best to have a sample of what you want so you can save time browsing their ceiling to floor collection.
We stopped at a few stores, but bought most of our ribbons from Sang Hing Ho Webbing & Dyeing  (128 Nam Cheong St).
If you have more questions, feel free to reach out to us!
dress - cotton on | necklace - j.crew | backpack - log-on | flats - maude frizon

shop the look:
photos by Ryan Feng

Leather Clutch DIY Workshop

Had a wonderful time at the West Elm workshop hosted by Toni! We learned how to handle, stain, weave and stencil on leather and made ourselves an awesome leather clutch! I'm totally obsessed and now I just want to make more bags! If you've always wondered how they make leather goods, this is a great start to satisfy your curiosity! You can follow Toni and see when her next upcoming workshops are!
Tada!
Follow Toni on instagram and check out her site here!